This guide is written for product teams, importers, wholesalers, and brand operators. Use it to structure supplier conversations and document decisions before samples or bulk production move forward.
The upper creates the first barrier
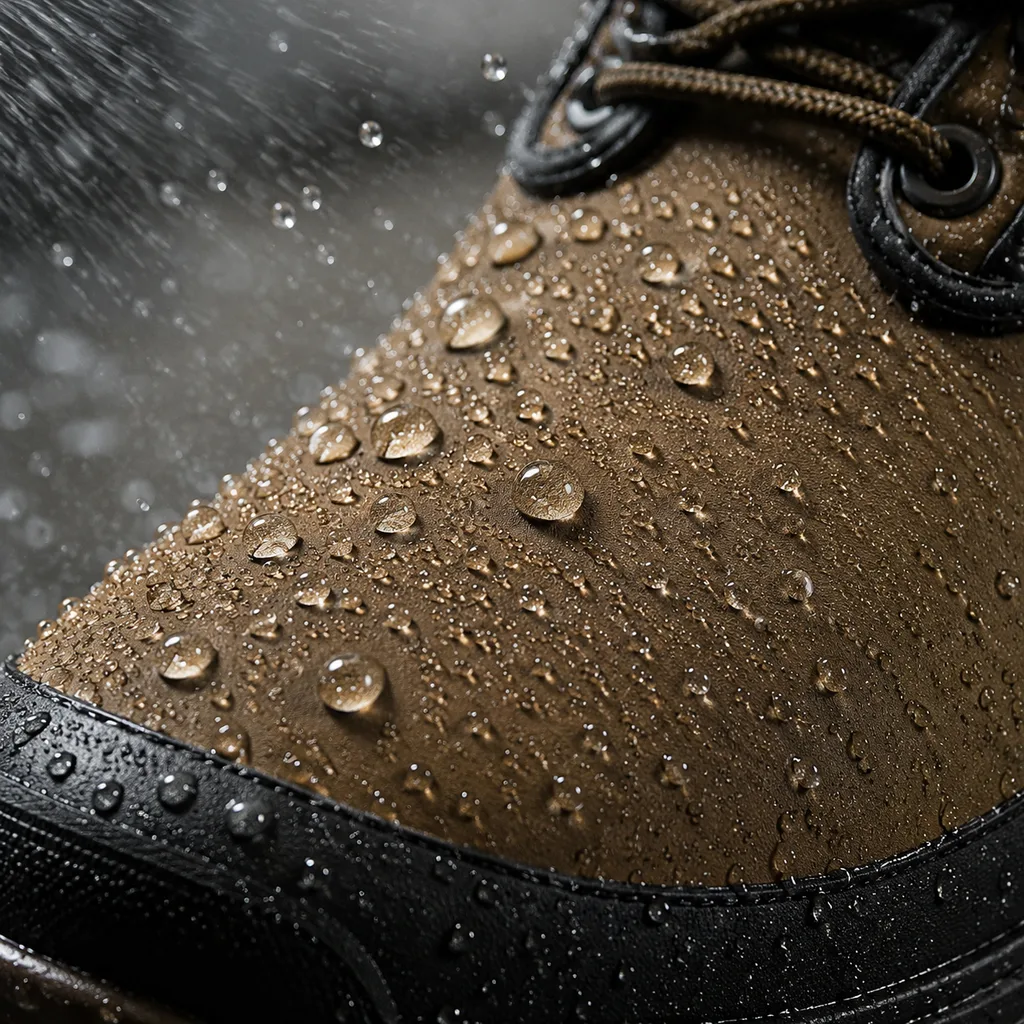
Coated textiles, synthetic leather, rubber shells, and laminated materials can reduce water entry, but panels must still flex, stitch, and bond correctly. Specify the exact material face, backing, thickness, finish, and approved supplier reference. Decorative panels and perforations should be reviewed against the intended waterproof boundary rather than treated as purely visual choices.
Membranes and seam treatment complete the enclosure
A membrane can sit behind the upper as a bootie or laminated layer. Its seams, joins, and handling determine whether the enclosure remains continuous. In other constructions, selected seams may be taped, sealed, or positioned above the expected water line. The specification should show which seams receive treatment and how inspectors can verify it before assembly hides the area.
Tongues, collars, and closures define the limit
Water often enters through an opening before it passes through the upper. A gusseted tongue raises the practical barrier, while zippers, eyelets, pull-on openings, and low collars create specific limits. Mark the intended protection height and ensure marketing copy does not imply submersion or coverage above that boundary. Fit and entry still need to work with the chosen gusset and closure.
Sole attachment and verification close the system
Cemented, injected, molded, and shell-based constructions manage the upper-to-sole interface differently. Adhesive application, roughing, pressure, curing, and component fit can affect both bonding and water entry. Validate the finished boot with an appropriate method and condition, then add in-line controls for the construction steps most likely to create failures.
Decision framework
Buyer checklist
- Mark the waterproof boundary on the specification
- Approve exact upper and membrane references
- Identify every seam treatment
- Review gusset and closure limitations
- Verify finished boots with an appropriate method
Continue the specification
Move from research to a controlled brief.
Frequently asked questions
Questions buyers ask next
What part of a snow boot makes it waterproof?
No single part guarantees the result. Upper materials, membrane or coating, seams, gussets, closures, sole attachment, and workmanship form the finished system.
Is a rubber lower shell always waterproof?
The molded shell may resist water, but the interface with the upper, openings, defects, and overall construction still define finished-boot performance and claim limits.