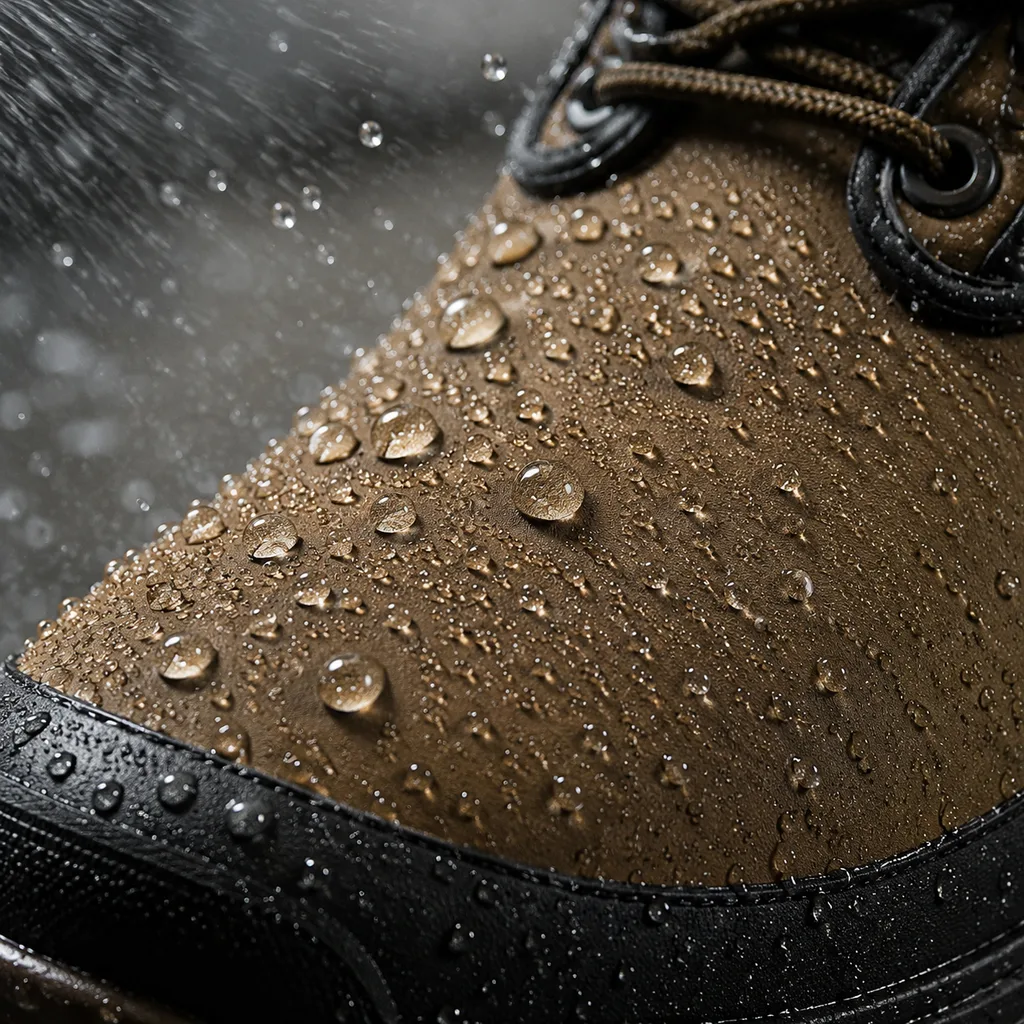
This guide is written for product teams, importers, wholesalers, and brand operators. Use it to structure supplier conversations and document decisions before samples or bulk production move forward.
Gusset height and continuity
The gusset defines how high the closure area resists direct water entry. Specify effective height, fold direction, edge sealing, material, and connection to the lining or membrane system. Check that opening the boot does not pull the gusset below the intended protection line.
Continuous membrane or barrier coverage
Barrier coverage should follow the intended water-exposure zone without gaps at collar transitions, pattern joins, or lasting margins. Mark the coverage on the pattern and verify placement during sample teardown if needed. Wrinkles, damage, or insufficient overlap can create hidden leakage paths.
Seam placement and treatment
Reduce unnecessary seams in high-exposure and flex zones. Where seams are required, control needle size, stitch density, overlap, tape or sealant compatibility, pressure, and temperature. Decorative stitching should not cross the barrier without an approved treatment and validation plan.
Lasting and bottom sealing
Water can enter where the upper, insole, lasting margin, adhesive, and outsole meet. Control material preparation, overlap, bonding, sealing, and contamination. Review the bottom construction as part of waterproof development rather than treating it only as an outsole-attachment issue.
Closure, hardware, and branding attachments
Zippers, eyelets, hooks, patches, embroidery, and molded badges can puncture or interrupt the water barrier. Position them outside critical zones where possible. When attachment crosses the barrier, define reinforcement, sealing, and testing on the finished boot.
Decision framework
Buyer checklist
- Measure effective gusset height and inspect every attachment point
- Map and verify full barrier coverage on the actual pattern
- Create a seam map with required treatment and process settings
- Inspect lasting margins, sealing continuity, preparation, and bonding
- Review every attachment as a potential barrier penetration
Continue the specification
Move from research to a controlled brief.
Frequently asked questions
Questions buyers ask next
What should buyers prioritize first from this list?
Start with the barrier coverage and gusset because they define the protected volume. Then close seam, bottom, and attachment details so no secondary operation creates an unplanned path.
Does every snow boot program need all five items?
All five details interact. A well-sealed seam cannot compensate for a low gusset, and a complete membrane cannot compensate for uncontrolled hardware penetrations or bottom sealing.