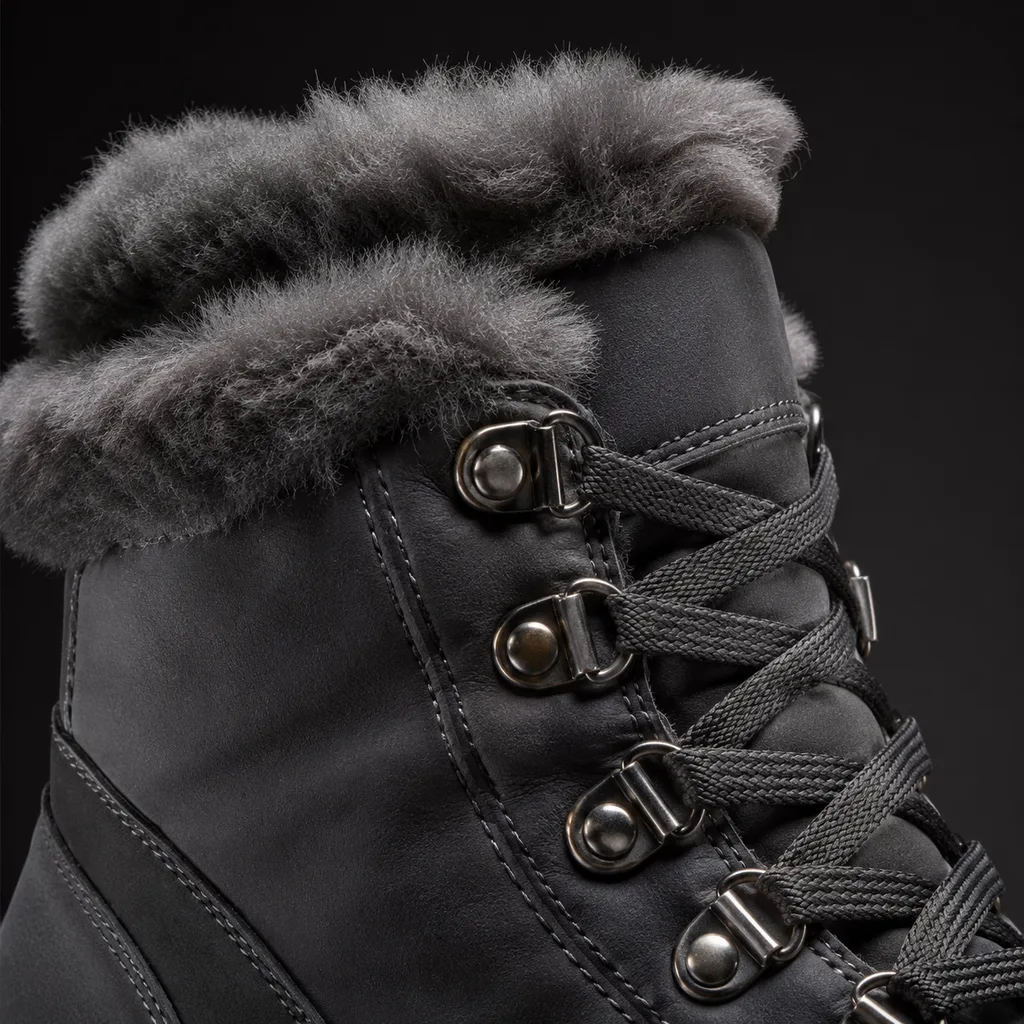
This guide is written for product teams, importers, wholesalers, and brand operators. Use it to structure supplier conversations and document decisions before samples or bulk production move forward.
Map actual water-entry paths
Start with observed leak location, exposure height, flex cycle, and sample condition instead of adding random layers. Use controlled checks and, where useful, teardown to trace the path. Separate upper absorption, seam leakage, closure entry, and bottom leakage because each requires a different correction.
Raise and stabilize the gusset
A higher gusset can increase protection around laces or zippers, but only if folds, attachments, and opening behavior remain controlled. Confirm effective height on the foot and during entry. Use a material that flexes without creating bulky pressure points or pulling on seams.
Reduce needle holes in exposed zones
Simplify pattern pieces, move decorative stitching, use welded or bonded reinforcements where appropriate, and optimize stitch density. Fewer holes can reduce sealing burden, but new bonding methods create their own compatibility and peel risks. Test the revised construction rather than assuming it is superior.
Improve material and treatment compatibility
Membranes, tapes, sealants, coatings, adhesives, textiles, and synthetic leathers must work together under heat, pressure, flex, and cold. Confirm supplier-recommended settings and trial the actual color and finish. Surface treatments can change adhesion even when the base material is unchanged.
Validate after flex and conditioning
A boot may pass a simple new-sample check but leak after flex, cold conditioning, or wear. Use a method relevant to the claim and expected exposure, then record results by size and sample condition. Treat failure localization and corrective action as part of development.
Decision framework
Buyer checklist
- Record leak location, exposure, conditioning, and likely path
- Validate gusset height, fold, comfort, and connection during use
- Review the seam map and validate any welded or bonded replacement
- Approve the full material-treatment stack under production settings
- Test finished boots after relevant conditioning and flex cycles
Continue the specification
Move from research to a controlled brief.
Frequently asked questions
Questions buyers ask next
What should buyers prioritize first from this list?
Map the leak path first. Improvements made without localization can add cost and stiffness while leaving the original entry point unchanged.
Does every snow boot program need all five items?
The best correction may combine several actions, but each change should have a stated reason and verification result. Preserve fit, flex, breathability, appearance, and production repeatability while improving water resistance.