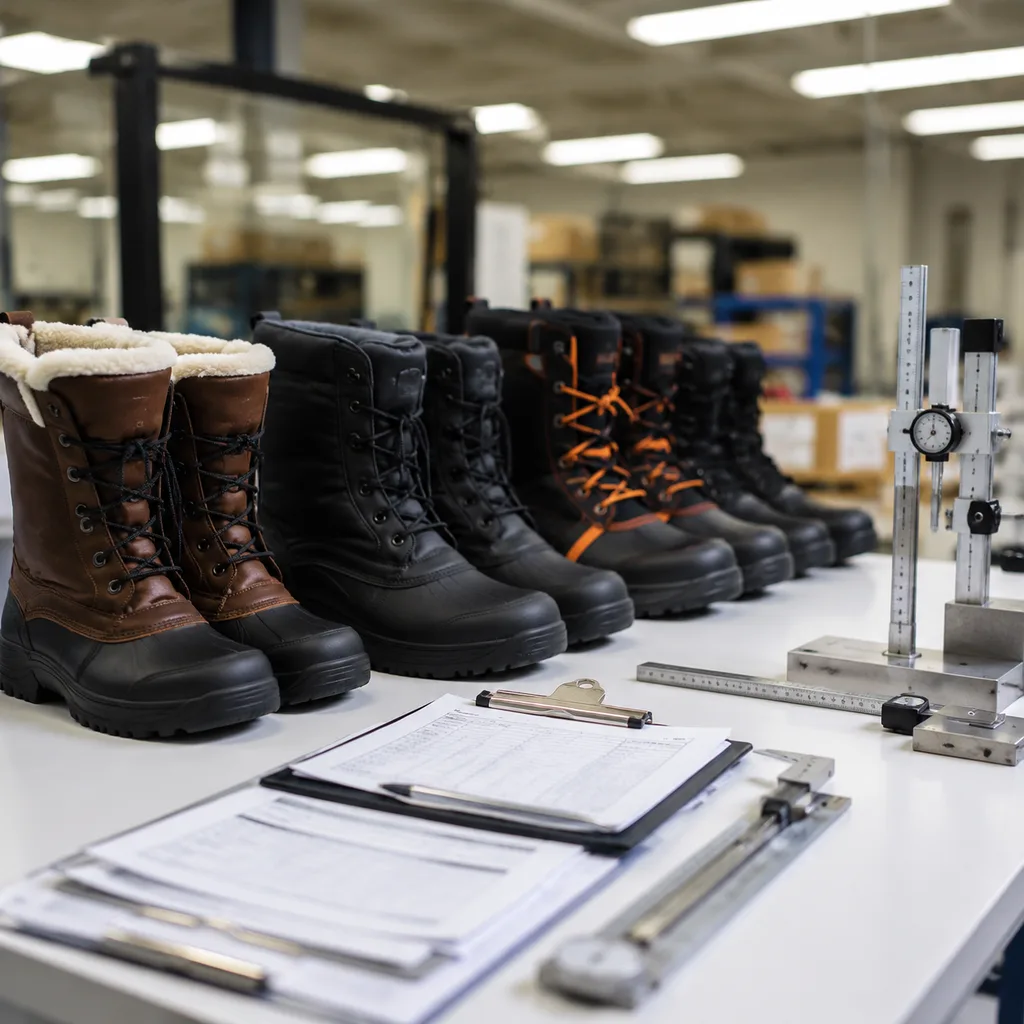
This guide is written for product teams, importers, wholesalers, and brand operators. Use it to structure supplier conversations and document decisions before samples or bulk production move forward.
Woven and printed labels
Labels work well on tongues, collars, pull tabs, linings, and packaging because they can carry detailed marks at relatively small scale. Specify dimensions, edge finish, fold, backing, color reference, placement, and attachment. Check readability after stitching and wear at likely flex points.
Embroidery and stitched patches
Embroidery and patches can create a tactile outdoor or workwear identity. They add thickness and needle penetrations, so review location near waterproof zones and high-flex areas. Control thread color, stitch density, border shape, backing, and alignment on curved boot panels.
Embossed or debossed upper marks
Embossing can create restrained branding on suitable synthetic leather, rubber, or molded panels. Results depend on material thickness, grain, heat response, pressure, and tooling. Approve the mark on the actual production material because a digital mockup cannot show edge definition or recovery.
Molded logos and branded hardware
Molded side marks, outsole logos, lace hardware, zipper pulls, and rubber badges can provide strong recognition and durability. They may require molds, color matching, attachment testing, and higher component minimums. Confirm logo ownership and whether tooling can move between suppliers or factories.
Insoles, hangtags, boxes, and inserts
Retail-facing components extend the brand story without changing core boot construction. Coordinate artwork, claims, barcodes, care information, language, and recycling marks across the insole, tags, tissue, box, and shipping carton. Avoid unsupported performance claims even when they appear only on packaging.
Decision framework
Buyer checklist
- Approve label artwork, construction, placement, and attachment sample
- Test stitched branding for alignment, flex, and water-path risk
- Approve embossing on the final material and production-relevant tooling
- Define tooling ownership, minimums, attachment, and color approval
- Review every consumer-facing claim and artwork file as one system
Continue the specification
Move from research to a controlled brief.
Frequently asked questions
Questions buyers ask next
What should buyers prioritize first from this list?
Choose the highest-visibility method that fits the construction without creating unnecessary tooling or waterproof risk. For many programs, a durable upper mark plus coordinated insole and packaging creates a balanced brand system.
Does every snow boot program need all five items?
Multiple methods can work together, but repetition should be intentional. Define a primary mark, secondary identifiers, and packaging hierarchy so the boot looks branded rather than covered with unrelated logos.