This guide is written for product teams, importers, wholesalers, and brand operators. Use it to structure supplier conversations and document decisions before samples or bulk production move forward.
Tongue and collar branding
Tongue labels, woven tabs, embroidery, or collar marks remain visible in front and three-quarter product views. They can also sit near gussets and waterproof zones, so attachment must be planned carefully. Check label comfort, lace coverage, alignment, and readability across sizes.
Side-panel signature mark
A side mark can create the strongest shelf and photography recognition through a patch, print, weld, emboss, or molded badge. Match method to panel material and flex. Large marks require careful scale grading so they do not crowd seams or distort on smaller sizes.
Heel, counter, or pull-tab branding
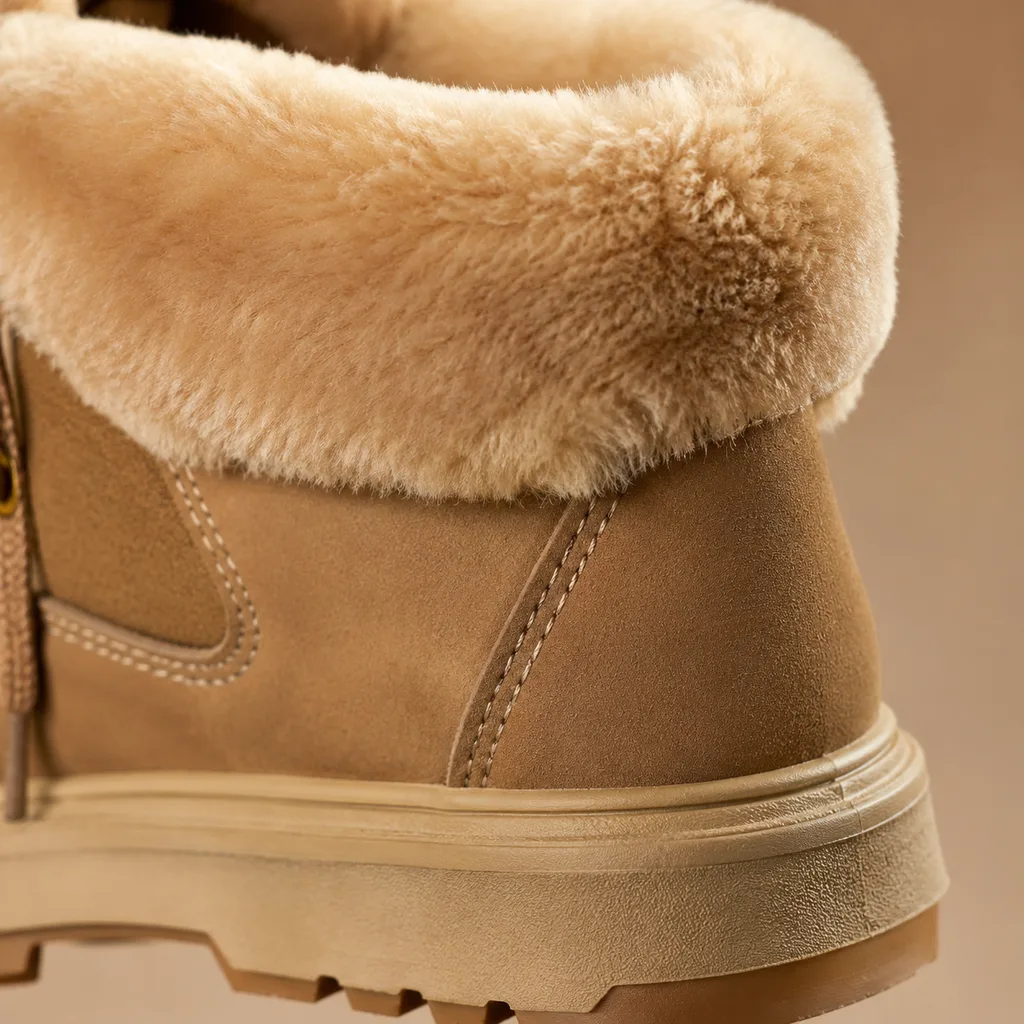
Heel placement supports recognition from rear views and can integrate with pull tabs or molded guards. It must withstand abrasion, flex, and repeated pulling. Confirm that branding does not weaken a functional tab or create a hard edge against the foot.
Outsole, sidewall, or hardware logo
Molded outsole marks, sidewall logos, zipper pulls, eyelets, and lace hardware can create durable proprietary detail. They may require tooling, component minimums, color approval, and ownership terms. Keep tiny marks legible and avoid placing logos where normal wear removes them immediately.
Insole, hangtag, and packaging system
Insoles, tags, tissue, boxes, sleeves, and carton labels extend the identity without adding upper penetrations. Coordinate hierarchy, artwork, product claims, care, and barcodes. These placements should support the primary boot mark rather than introduce a disconnected visual system.
Decision framework
Buyer checklist
- Approve visibility, comfort, placement, and barrier impact on final samples
- Grade side-logo scale and validate attachment across representative sizes
- Test rear-branding abrasion, pull strength, alignment, and comfort
- Define tooling ownership, minimums, legibility, wear, and color control
- Approve one brand hierarchy across boot, insole, tags, and packaging
Continue the specification
Move from research to a controlled brief.
Frequently asked questions
Questions buyers ask next
What should buyers prioritize first from this list?
Choose one primary visible placement that works with the construction, then add secondary marks for rear, interior, or packaging recognition. Protect waterproof zones and high-flex areas before maximizing logo size.
Does every snow boot program need all five items?
Several placements can work together, but each should have a defined role. Limit duplicated marks and keep scale, color, and artwork consistent across the full size range.